Different Colors For One Photo [How to use the Adjustments Panel to add a color tent In Photoshop]
The use of the Adjustments Panel In Photoshop, is so easy.
You can use it to add a color tent to your photo, to give it different look.
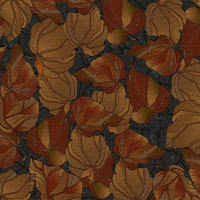 |
Brown tent
you can chose different tent |
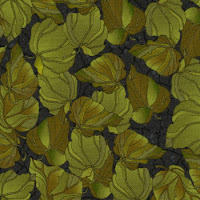 |
| The Original Picture |
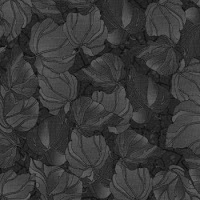 |
Gray scale
the feel of old photo |
Here is another use for photoshop you can get many colors for the same pictures to fulfill different purposes ,like to be compatible with the color tone of a card or photo if you will use it as a background .It is very easy to make.
HOW TO DESIGN?
How to use the Adjustments Panel .
- Open new document in Photoshop with transparent background and dimensions 250 w x 250 h .Place the green picture in the new document (from the file menu go to place and choose the picture then click place ) {You can just open the picture in Photoshop if you will work on the same photo .}
- Open the Adjustment panel {open window menu choose Adjustments}.Select the icon of {create a new black and white adjustment layer }
- For the gray scale (black &white )photo . In the Adjustments panel click on create a new black and white adjustment layer at once you will find the picture converts to black and white.
- For the brownish picture check the tint and click the color square beside it and choose the color you like.Once you choose the color will be applied and you will get different shade and view for your photo.
- Check the illustration I think it is useful.
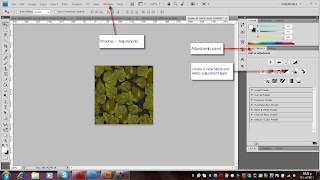 |
| (diagram1) |
Thanks
MR(Manal Raafat)


No comments:
Post a Comment
Thanks.